How to deploy Java Springboot application in Ubuntu 16.04/18.04

Hello Friends
Today, I am going to show you how can we deploy a Java Spring-boot application in Ubuntu 16.04/18.04
Step 1: SSH to your server

sudo apt-get updateTo add the PPA, It contains the Java
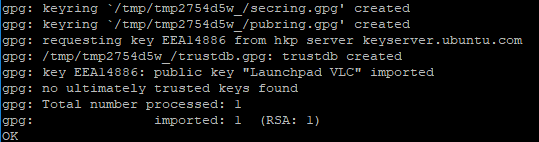
sudo add-apt-repository ppa:webupd8team/javaPress Enter key to continue. It will created the keyring
sudo apt-get updatesudo apt install oracle-java8-installer
Verify the installed Java version
java -versionjavac -versionsudo apt-get install maven -yFor this demo in going to clone a sample Java Spring-boot application from the GIT Hub.
So, first check if GIT already installed then proceed otherwise we need to install GIT first in order to clone a sample application from the GIT Hub.
So, first check if GIT already installed then proceed otherwise we need to install GIT first in order to clone a sample application from the GIT Hub.
sudo apt-get install git -y[You can clone it any location wherever you want]
sudo git clone https://github.com/spring-projects/spring-petclinic.git
Now the Application clone into root directory.

cd spring-petclinicNote : Inside the folder there is a file name “pom.xml” where all the installation dependencies are mentioned for java springboot applicationStep 9: We will now build the java application with the package we install called “maven”
[Remember, run this command from the folder where “pom.xml” is present]
[Remember, run this command from the folder where “pom.xml” is present]
maven clean package
To run the application in the background we will run the following command otherwise we have to create a service to this application.
This command will be run after enter to the folder name target as you can see that our application is in the target folder name “spring-petclinic-2.0.0.BUILD-SNAPSHOT.jar”
nohup java -jar -Dspring.profiles.active=test spring-petclinic-2.0.0.BUILD-SNAPSHOT.jar &Note: Remember as this is a Java application this will be accessible on the browser IP address of the machine along-with port 8080


